Whether you’ve sent out many invoices before, or you’re working on writing your first, it’s important to know how to write an invoice properly. There are many different sections in writing an invoice and missing one may leave you looking unprofessional.  Please keep in mind that we’ve used Invoice Simple as our guide for how to invoice, but the steps should stay pretty consistent no matter what invoice software you use.
If you first need clarification on what an invoice is, then read this. If you prefer to work on a template file rather than our online invoice generator then pay a visit to our free templates page.
While writing an invoice is a good sign for your business, it can certainly begin to feel a bit tedious. After awhile, you might find yourself feeling as though you’re spending more time filling out invoices than you are actually doing the work you’re getting paid for.
This is why it’s so important to have a super simple invoicing software like Invoice Simple –– which allows you to spend less time being an accountant and more time doing the work you love to do. Here’s how to write an invoice the simplest way possible — using online invoicing software.
How to write an invoice
These are the five steps to writing an invoice effectively and professionally.
1. Personalize and make your invoice professional
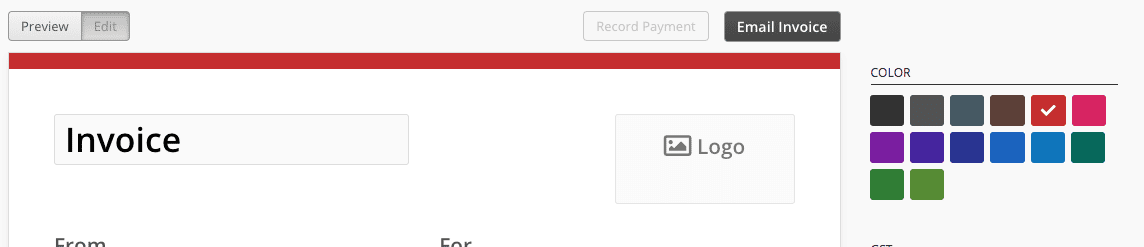
To begin, choose a color that best represents your brand and upload your brand’s logo. This will give your invoice a professional and personalized feel. Lastly, you might want to modify what’s in the ‘invoice’ box. If you call your invoices something else (e.g: bill, pro forma, receipt), otherwise leave it as is.
2. Fill-out the appropriate contact information on your invoice
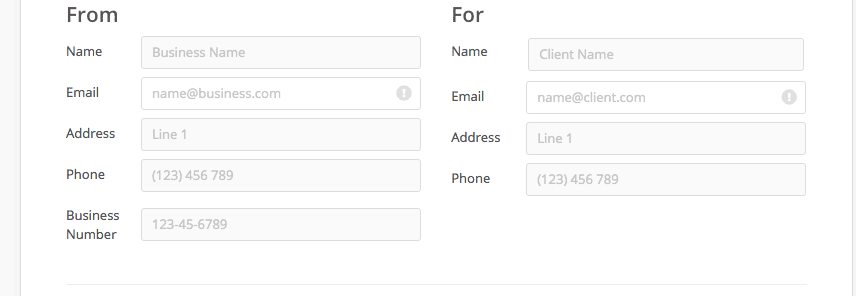
This step is fairly straightforward but one that is often overlooked when writing an invoice. Include the contact information of who the invoice is going too, as well as who it is coming from. This includes the name, email, address and phone. If you have a business number, include it too. This is yet another way to help you write invoices that look and feel professional.
3. Select a due date on your invoice
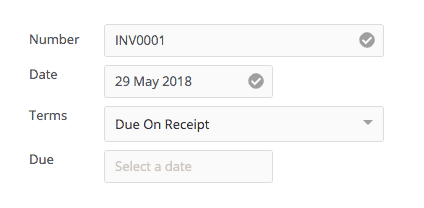
Invoice Simple prides itself in making the invoicing process easy for you. So, in this section, all you have to do is click the box next to “Due”. Then select the date you would like the invoice paid. From there the terms will automatically fill in. In addition, both the invoice “Number” and “Date” take care of themselves as well.
If you’ve sent out invoices before (for example using one of our invoice templates) then adjust the invoice number here to match your current sequence.
What is an invoice number?
An invoice number is a simple way to keep track of your invoices — and for your clients to keep track of you. By assigning a unique number to each invoice you send, you make it easier on yourself to track payment status. By keeping the number sequential, you make it easier for clients to see how and when they need to pay.
4. Fill in the projects/ tasks you are invoicing the client for
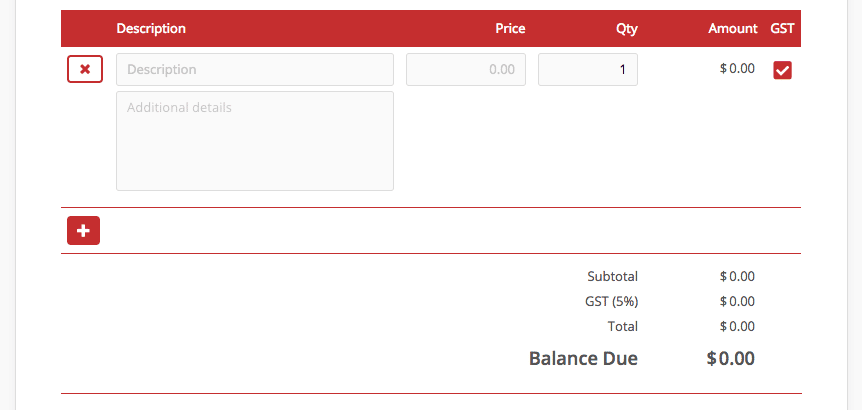
While we are almost done showing you how to write an invoice, be sure to pay extra attention to this section because it’s arguably the most important. Clients like to know exactly what you’re billing them for… so more detail here is better than less. Give a crisp clear description of the service or task. For example: “Social Media Marketing Management for July”. From there, type out a 1-3 sentence description reminding the client what your work entailed.
Then fill in the price and the quantity –– the quantity will vary depending on whether you are charging hourly or by project. You’ll also want to check or uncheck the box under “tax”, depending on whether or not you’re including taxes.
And, finally, you can fill in some additional comments at the bottom for more detail –– this a great place to say thank you to your client for the opportunity to work with them.
5. Add payment information
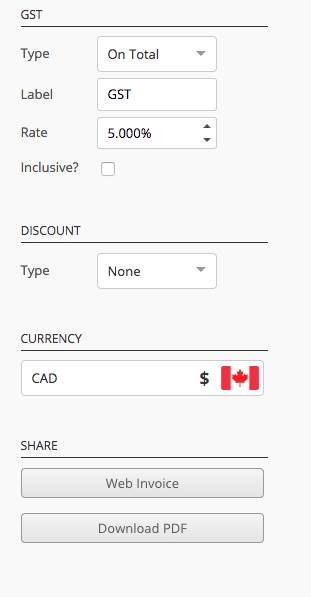
To make payment seamless, add in the payment details within the invoice (including payment terms and methods). If you decide to add taxes or discounts to the services, you can do so in this section. Though, this is of course optional. From here, choose to share the invoice. You can share the URL, download it as a PDF, print it or simply email it to your client.
Do you have anymore questions about how to write an invoice or how to invoice clients? If so, please feel free to send us an email at [email protected]. If not, start creating your invoice here.
What to include on an invoice
In addition to following the five steps outlined above, you’ll need to be sure your including the most important information on your invoice. Most of these items are covered in the five steps to writing an invoice: payment terms, invoice number and so on.
But you may also want a more definitive list of things to include on an invoice. Double check that you’re including each of these items on every invoice you send:
- The word ‘invoice’ — so that it stands out from quotes or estimates.
- A unique invoice number
- Your complete information — name, address and phone number
- Customer’s complete information — name, address and phone number
- Invoice date
- List of products or services provided — including cost
- Total invoiced amount
- Taxes
- Payment terms and info
- Payment instructions